
Tags
Baking, beer, cooking with beer, homebrewing, pretzel, soft pretzel, treat
I chose this for the first post for 2021 because I think it includes an important caveat for all of us to remember going into this year where so many people need to heal, both physically and psychically: You are not going to be able to shape a perfect twisted pretzel on the second go. I got my first one totally right, but since then, they have all been ugly. Having perfect looking pretzels is less important than having good tasting pretzels. Your ugly pretzels will make people laugh for the short moment before they take a bite of a nice, warm, salty pretzel. Then they will be quiet until they ask for another one.
All that being said, You should also feel free to just make little pretzel balls that are just the right size to pop into your mouth. Or, better yet, pretzel rolls which are spectacular for hamburgers. Or even a mixture of all three!
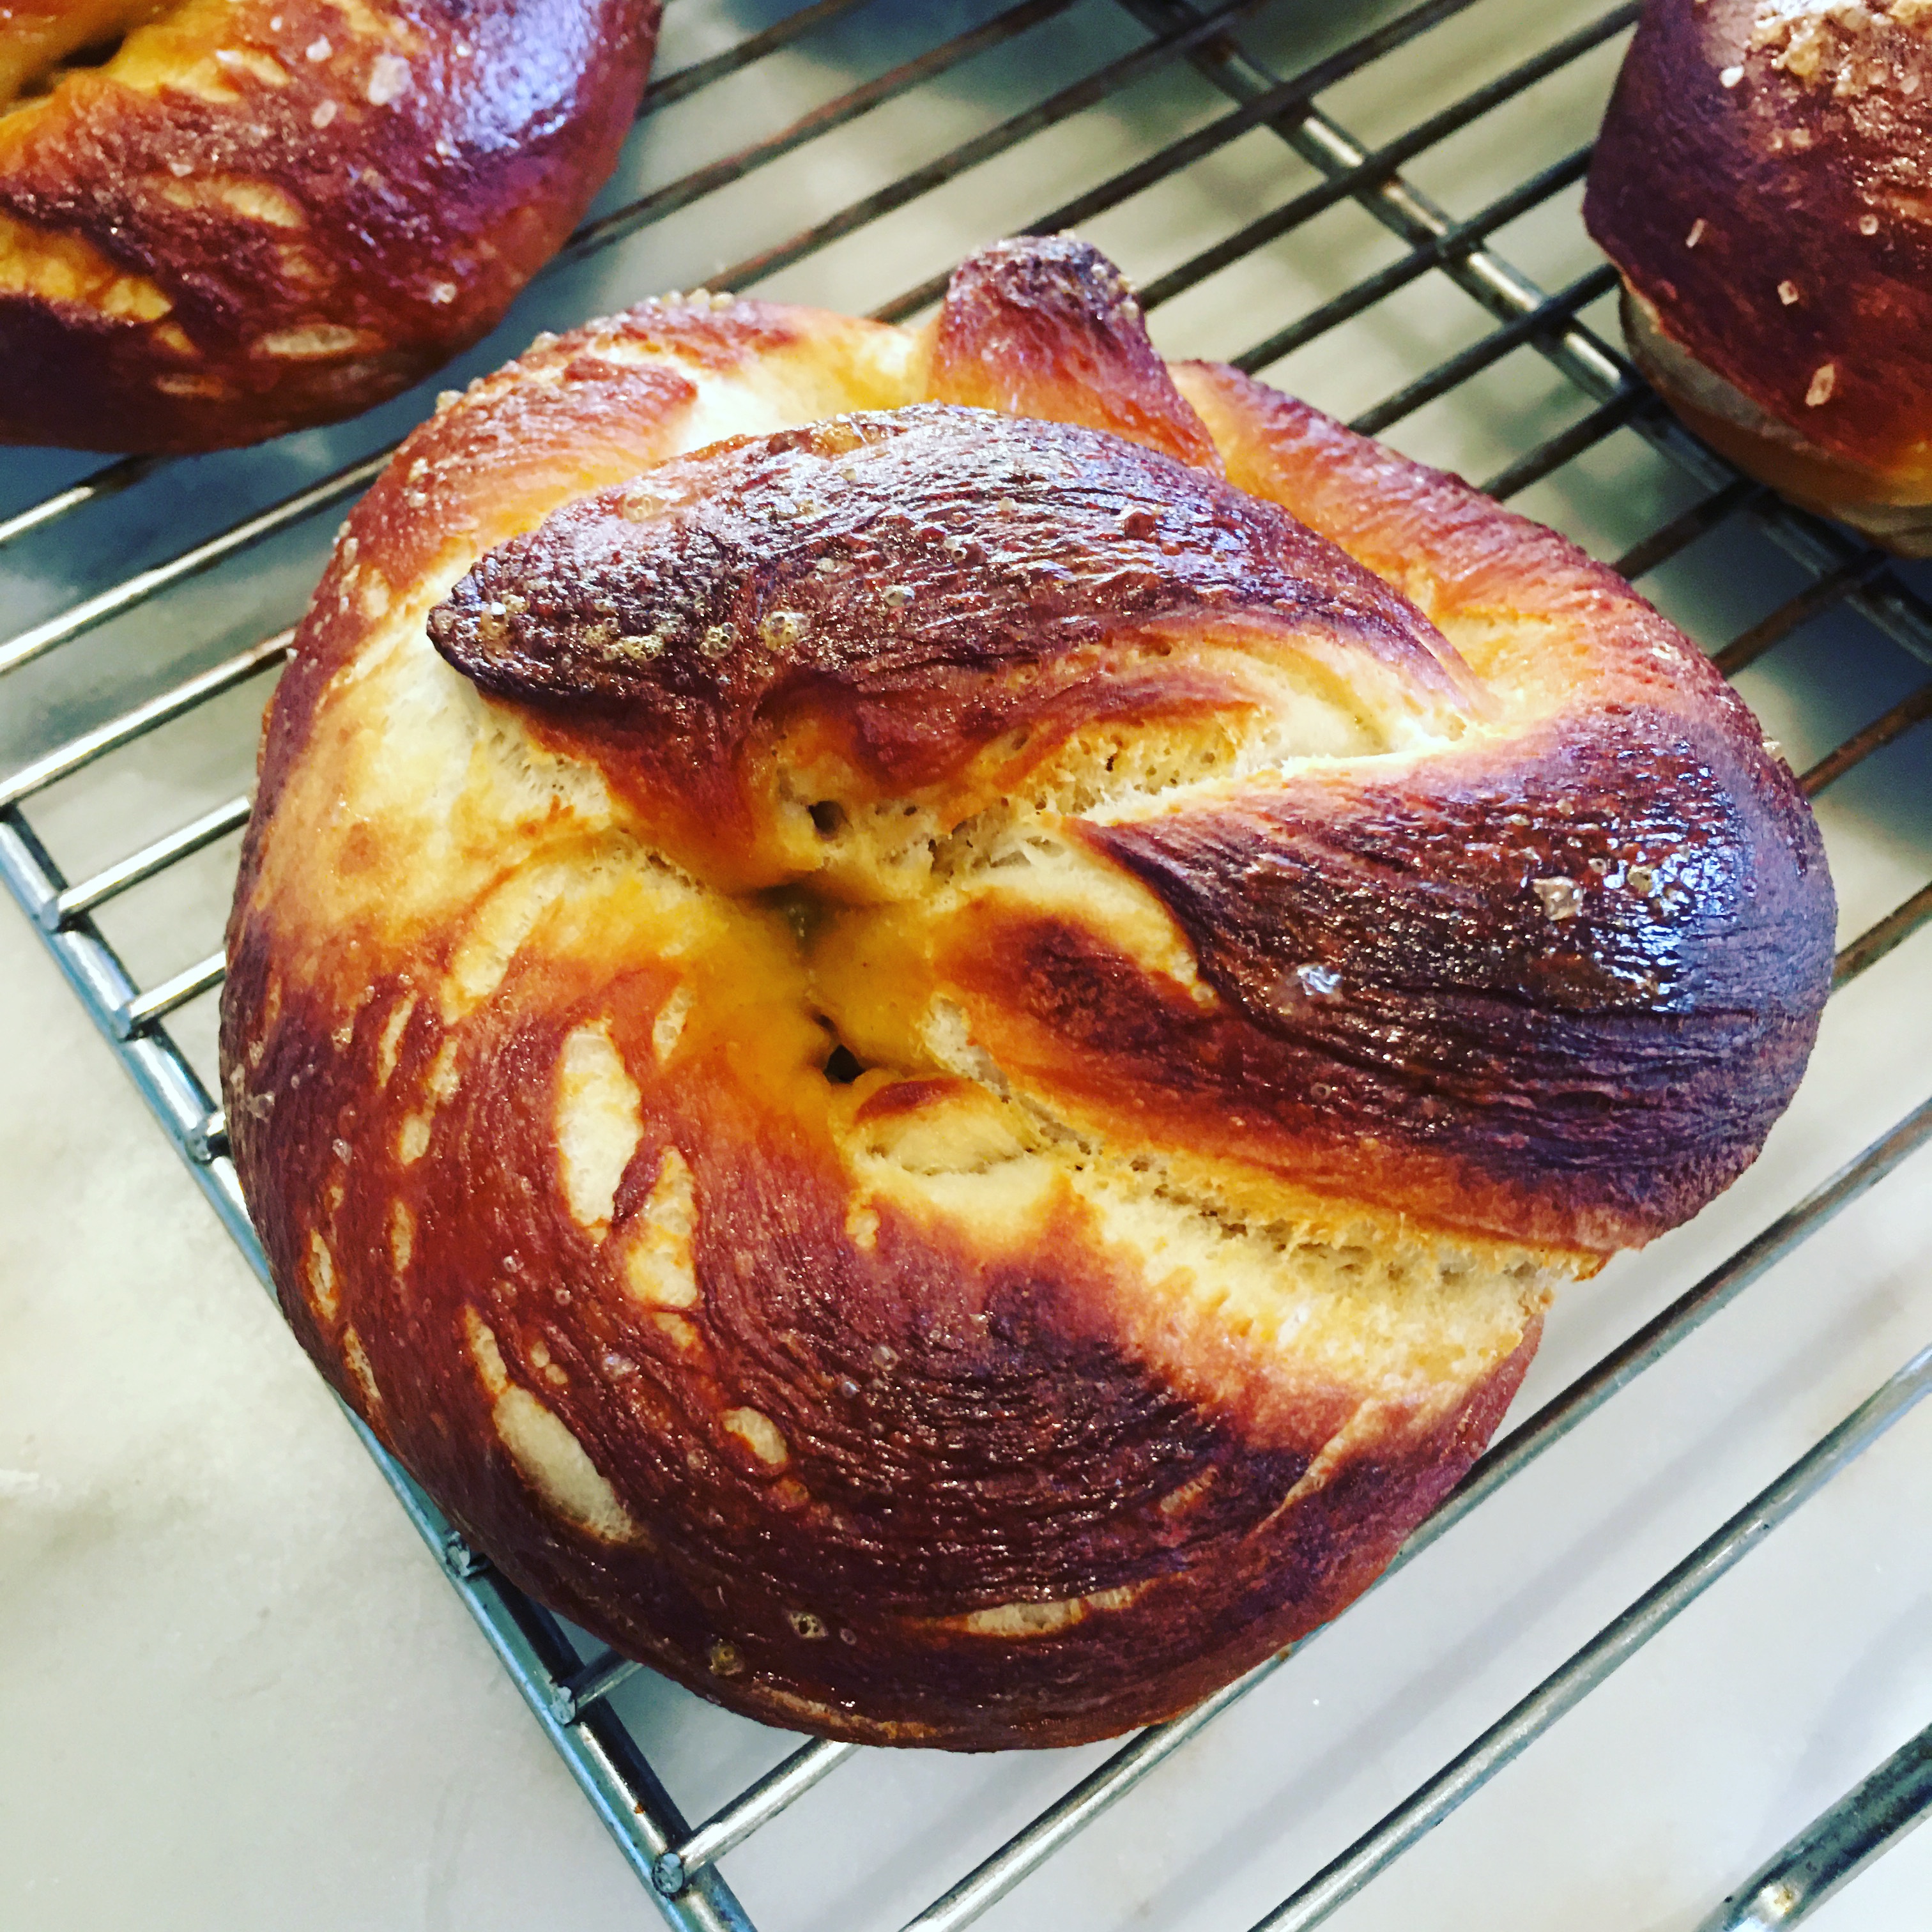
You will need beer for this. The original recipe I copied down years ago called for a bottle of “amber beer”. I imagine this is because at the time the recipe was written the only beer choices available were American Light Lagers (think Budweiser/MGD) and foreign beers from England and Germany if you were lucky enough to live in an urban environment with a specialty alcohol store. These days, between the internet and our growing craft beer industry, we have a ton of options available to us. So, step away from the mass produced fermented corn syrup water and go with something that actually tastes like beer. I usually go with some flavor of Belgian beer. The more flavor in the beer, the more flavor in the pretzel. Keep in mind though that a: you will not get alcohol in your pretzels, and b: whatever beer you choose will color your pretzels as well. I used a smoked Belgian Blonde Ale for the batch in the photo but I have also used a quad. I do suggest staying away from high IBU beers like IPAs as the hop character can be off putting in a baked product. Whatever you choose, I suggest getting something that you like to drink since there’s a good chance that you’re going to end up with a six pack of 12 oz beers or a 4 pack of 16 oz beers so you’re going to “need” to drink the rest of it. Also, few things go as well with soft pretzels as a nice, cold beer.
There are two schools of thought on activating yeast: people who just want to get on with it and eat something are proponents of warming the liquid (in this case, the beer) in which you are going to activate your yeast to get it moving a little faster. People who are willing to wait a minute for a tiny bit of extra flavor advocate using cold liquid because it makes the yeast work a little harder which throws of more yeastiness. I don’t like rushing so I choose the cold method. If you are in the first camp, warm your beer to about 112º or so either in the microwave or in a pot, before tossing in your yeast. But be careful: above about 165º you risk killing the yeast and having crackers instead of nice, soft, hot pretzels.
Finally, a thought on toppings. I usually go with the standard salted pretzels though I do use smoked salt to add a little extra depth. I have seen all manner of odd pretzel toppings from the mundane like poppy or sesame seeds, to the overcomplicated dried confit garlic, to the ridiculous bacon (ridiculously good that is). You can even mix and match fora little variety. Go nuts! Well, nuts might be weird on a pretzel …
Total Time: About 1 hour active. Actual time varies depending on your method of rising the dough.
Yield: 8 pretzels or pretzel rolls, 16-20 little pretzel balls.
Ingredients:
- Pretzels
- 12 oz. non mass produced beer (1.5 cups) – See above for thoughts on beer.
- 1/4 oz (1 package) active dried yeast.
- 2 Tablespoons unsalted butter, melted
- 2 tablespoons honey (you could also use molasses, or any sugar really. I use honey because the longer sugar chains give the yeast more to do and keep them healthier)
- 2 teaspoons coarse salt plus more if you are going to sprinkle on top
- 3.75 cups bread flour plus .25 cup spent brewing grain “flour” or 4 cups bread flour
- 10 cups of water
- 2/3 cup baking soda
- Topping
- 1 large egg yolk
- 1 tablespoon water
- coarse salt (or whatever you’re going to sprinkle on your pretzels)
Process:
- Put your honey in the bottom of your stand mixer bowl. If you are doing this by hand, use a large mixing bowl.
- Add yeast, then beer slowly. The beer will foam up so take your time.
- Once all the beer is added, stir until you feel like the honey is dissolved in the beer.
- Set aside until the top is foamy with creamy yeast foam, not with beer foam. About 15 minutes usually does the trick.
- While that is happening, put your 10 cups of water in a pot and mix in the baking soda.
THIS IS IMPORTANT: Do NOT add your baking soda to boiling water. You will make a HUGE mess that will take at least 48 minutes to clean up and will try your patience in ways that you can only know if you have lived with a toddler in your house. If you boil your water before you add the baking soda, pour it out and start with a new batch of water. I am not kidding. - Put your mixing bowl on the stand mixer with the dough hook attachment and start it on the lowest setting. Mine is “stir”, yours may be something else.
- Add the spent grain flour (if not using spent grain flour, use .5 cup of bread flour) and allow to mix in.
- Next add your butter and then there rest of the flour .5 cup at a time until you have a soft, slightly sticky dough.
- Let the mixer knead the dough for 10 minutes or so (or knead by hand on a lightly floured work surface).
- Turn out onto a floured work surface (AKA your kitchen counter usually), cover with a clean dish towel, and allow to size until doubled in size. This is a 1-2 hour proposition depending on how warm your kitchen is.
Note: If you do not have a large enough block of time on one day, you can put the dough in an oiled bowl and leave it in the refrigerator overnight. I actually prefer this method as (once again) the yeast works a little harder in the fridge and produces a different (better) flavor. - Position two racks in your oven so that you have room for two cookie sheets then heat your oven to 425ºF
- Put your baking soda water on the stove on high heat. Only do this if you have already mixed in the baking soda. I’m not kidding about that.
- Form your pretzels into whatever shape you are planning to use.
- In a small bowl, mix your egg yolk and water and get your brush ready.
- Line two baking trays/cookie sheets with parchment paper and grease the paper. I strongly advise against aluminum foil or simply using a greased baking tray as the baking soda/water combination is not metal friendly.
- Lay out enough paper towels for your pretzels to dry on.
- Divide your pretzels into 4 batches and carefully drop each batch into the boiling baking soda water for about 2 minutes. When they float to the top, remove using a slotted spoon or some other thing that will drain. Then place them on paper towels until you have finished all of them.
- Transfer your drained pretzels to your baking sheets.
- Now take your brush and brush on the yolk/water mixture then sprinkle with coarse salt (or poppy seeds or confit garlic, or parmesan, …). Note: the sprinkling is a great job for kids.
- Bake 12-15 minutes until pretzel colored.
- Cool on a wire rack.
- Eat warm with mustard. Or whatever you eat pretzels with.
Reheating: These freeze remarkably well. Reheat in the microwave for about a minute. They are super tasty though, truth be told, the outside doesn’t have the same pull as when they are fresh.
