
 Archaeologists tell us that the first evidence of people using yeast to leaven bread appears about 4000 BC in Egypt. This is about the same time that people started making beer so my theory is that some Egyptian baker started working on some bread and enjoyed too many tasty beverages while doing so and passed out in the middle of his bread prep. Then when he woke up after his bender he woke up and after thinking “I am never going to drink that much again.” he looked at his dough and was totally stoked at the doubling of his dough. So he slaps it in the oven and freaks out when the dough starts rising. After they determine that the dough was not possessed, he is forced to repeat the process (poor bastard, the Greeks wouldn’t discover the precursor to aspirin for another 3500 years) and thus began the long 6000 year march that has brought us wonder bread, baguettes, potato rolls, grilled cheese, hamburgers, hot dogs, croissants with coffee and the morning paper, etc.
You should note that this is a process that will span two days. Actually, the first time it’s a 5 day process. You should start by creating a sourdough starter. That should take 3-4 days. Then follow the process below. You will be rewarded with some mighty tasty bread and in reality, while the process takes about two days to happen, it’s really only about 30 minutes of actual work. Though if you were really focused, you could just sit there and when people ask you what you are doing you could say “SHHHH!!!! I’m making bread from salt, flour, water, and the little critters floating in the air all around you!” This would also mean you would sit pretty much motionless for about 24 hours straight so if that appeals to you, go for it.
Equipment:
- Large bowl
- Stand mixer or wooden spoon (I highly recommend the stand mixer. Best investment you can make in the kitchen)
- Clean kitchen towel
- Basket, 10-13″ across preferably round (though if you don’t have a basket you could just use a bowl but a basket is better) I use one of the 10 easter baskets that our 5 year old has.
- Dry measuring cups
- A liquid measuring cup that holds at least 1 cup
- Tablespoon measuring spoon
- Spray bottle like one would use for misting clothes before ironing
- Baking parchment paper
- Half sheet pan
- Non serrated knife (any knife will do but it’s far more satisfying to use a really big one especially if someone is watching you)
- Cooling rack
 Ingredients:
- 1 cup sourdough starter
- 7.5 cups unbleached all purpose flour plus a little more for sprinkling on stuff (see below)
- 3 cups water
- 2 Tablespoons Coarse Sea Salt (if you do not use coarse salt you should cut this back to 1 tablespoon)
- 2 tablespoons olive oil
Time: About 24 hours if you already have your starter going. Could be more, could be less. See below.
Serves: Unknowable though a loaf usually lasts our family of 3 about a week.
Process:
Note: This process assumes you have a ready starter (if you have not figured out that you cannot proceed without the starter, this may not be an undertaking you should be considering as it involves playing with hot stuff and sharp things).
- Wake up in the morning
- Scoop out one cup of goo from your sourdough starter and place it in a large bowl.
IF YOU ARE USING A STAND MIXER, and you do not need your stand mixer for the next 8-10 hours, you can use the bowl from the mixer for this. - Add 2 cups of water and 2 cups of flour to the goo and mix until uniform. You should have something about the consistency of pancake batter. This is your SPONGE which is not to be confused with your STARTER. This is important in a little bit.
- Cover the bowl with a piece of plastic wrap and leave in a cool spot out of the sun.
- Go away.
- After a minimum of 8 hours, return to the SPONGE bowl and remove the cover.
- Add one half cup of flour to your STARTER. Scoop out a half cup of goo from the SPONGE and return it to the STARTER and give it a good stir. You are now feeding your STARTER so that you can come back and repeat this process again next week.
- Return to the sponge. Pour in one cup of water, 5 cups of flour, and the salt (see above).
- IF YOU ARE USING A STAND MIXER: Put the kneading hook on the mixer and turn the mixer on to the stir setting. Let this run until the ingredients are all mixed and the sides of the bowl are pretty much clean. Then let it run for another 3 or 4 minutes. You should have a slightly sticky, amorphous ball of dough.
IF YOU HAVE NO STAND MIXER: -
- Take a deep breath.
- Stir all of the ingredients together with a wooden spoon until they are incorporated into a ball.
- Lightly flour your work surface so that the ball does not stick to it.
- Dump the blob out onto the surface and knead for about 10 minutes. You will know you are done about 9 minutes after you start wishing you were done.
- Clean out your bowl and dry it or get another large bowl.
- Pour the olive oil into the bowl and spread it around so that you coat the insides of the bowl. I find a paper towel works really well for this but it’s not necessary.
- Transfer the ball to the oiled bowl and cover with a kitchen towel.
 Go to bed.
- Wake up.
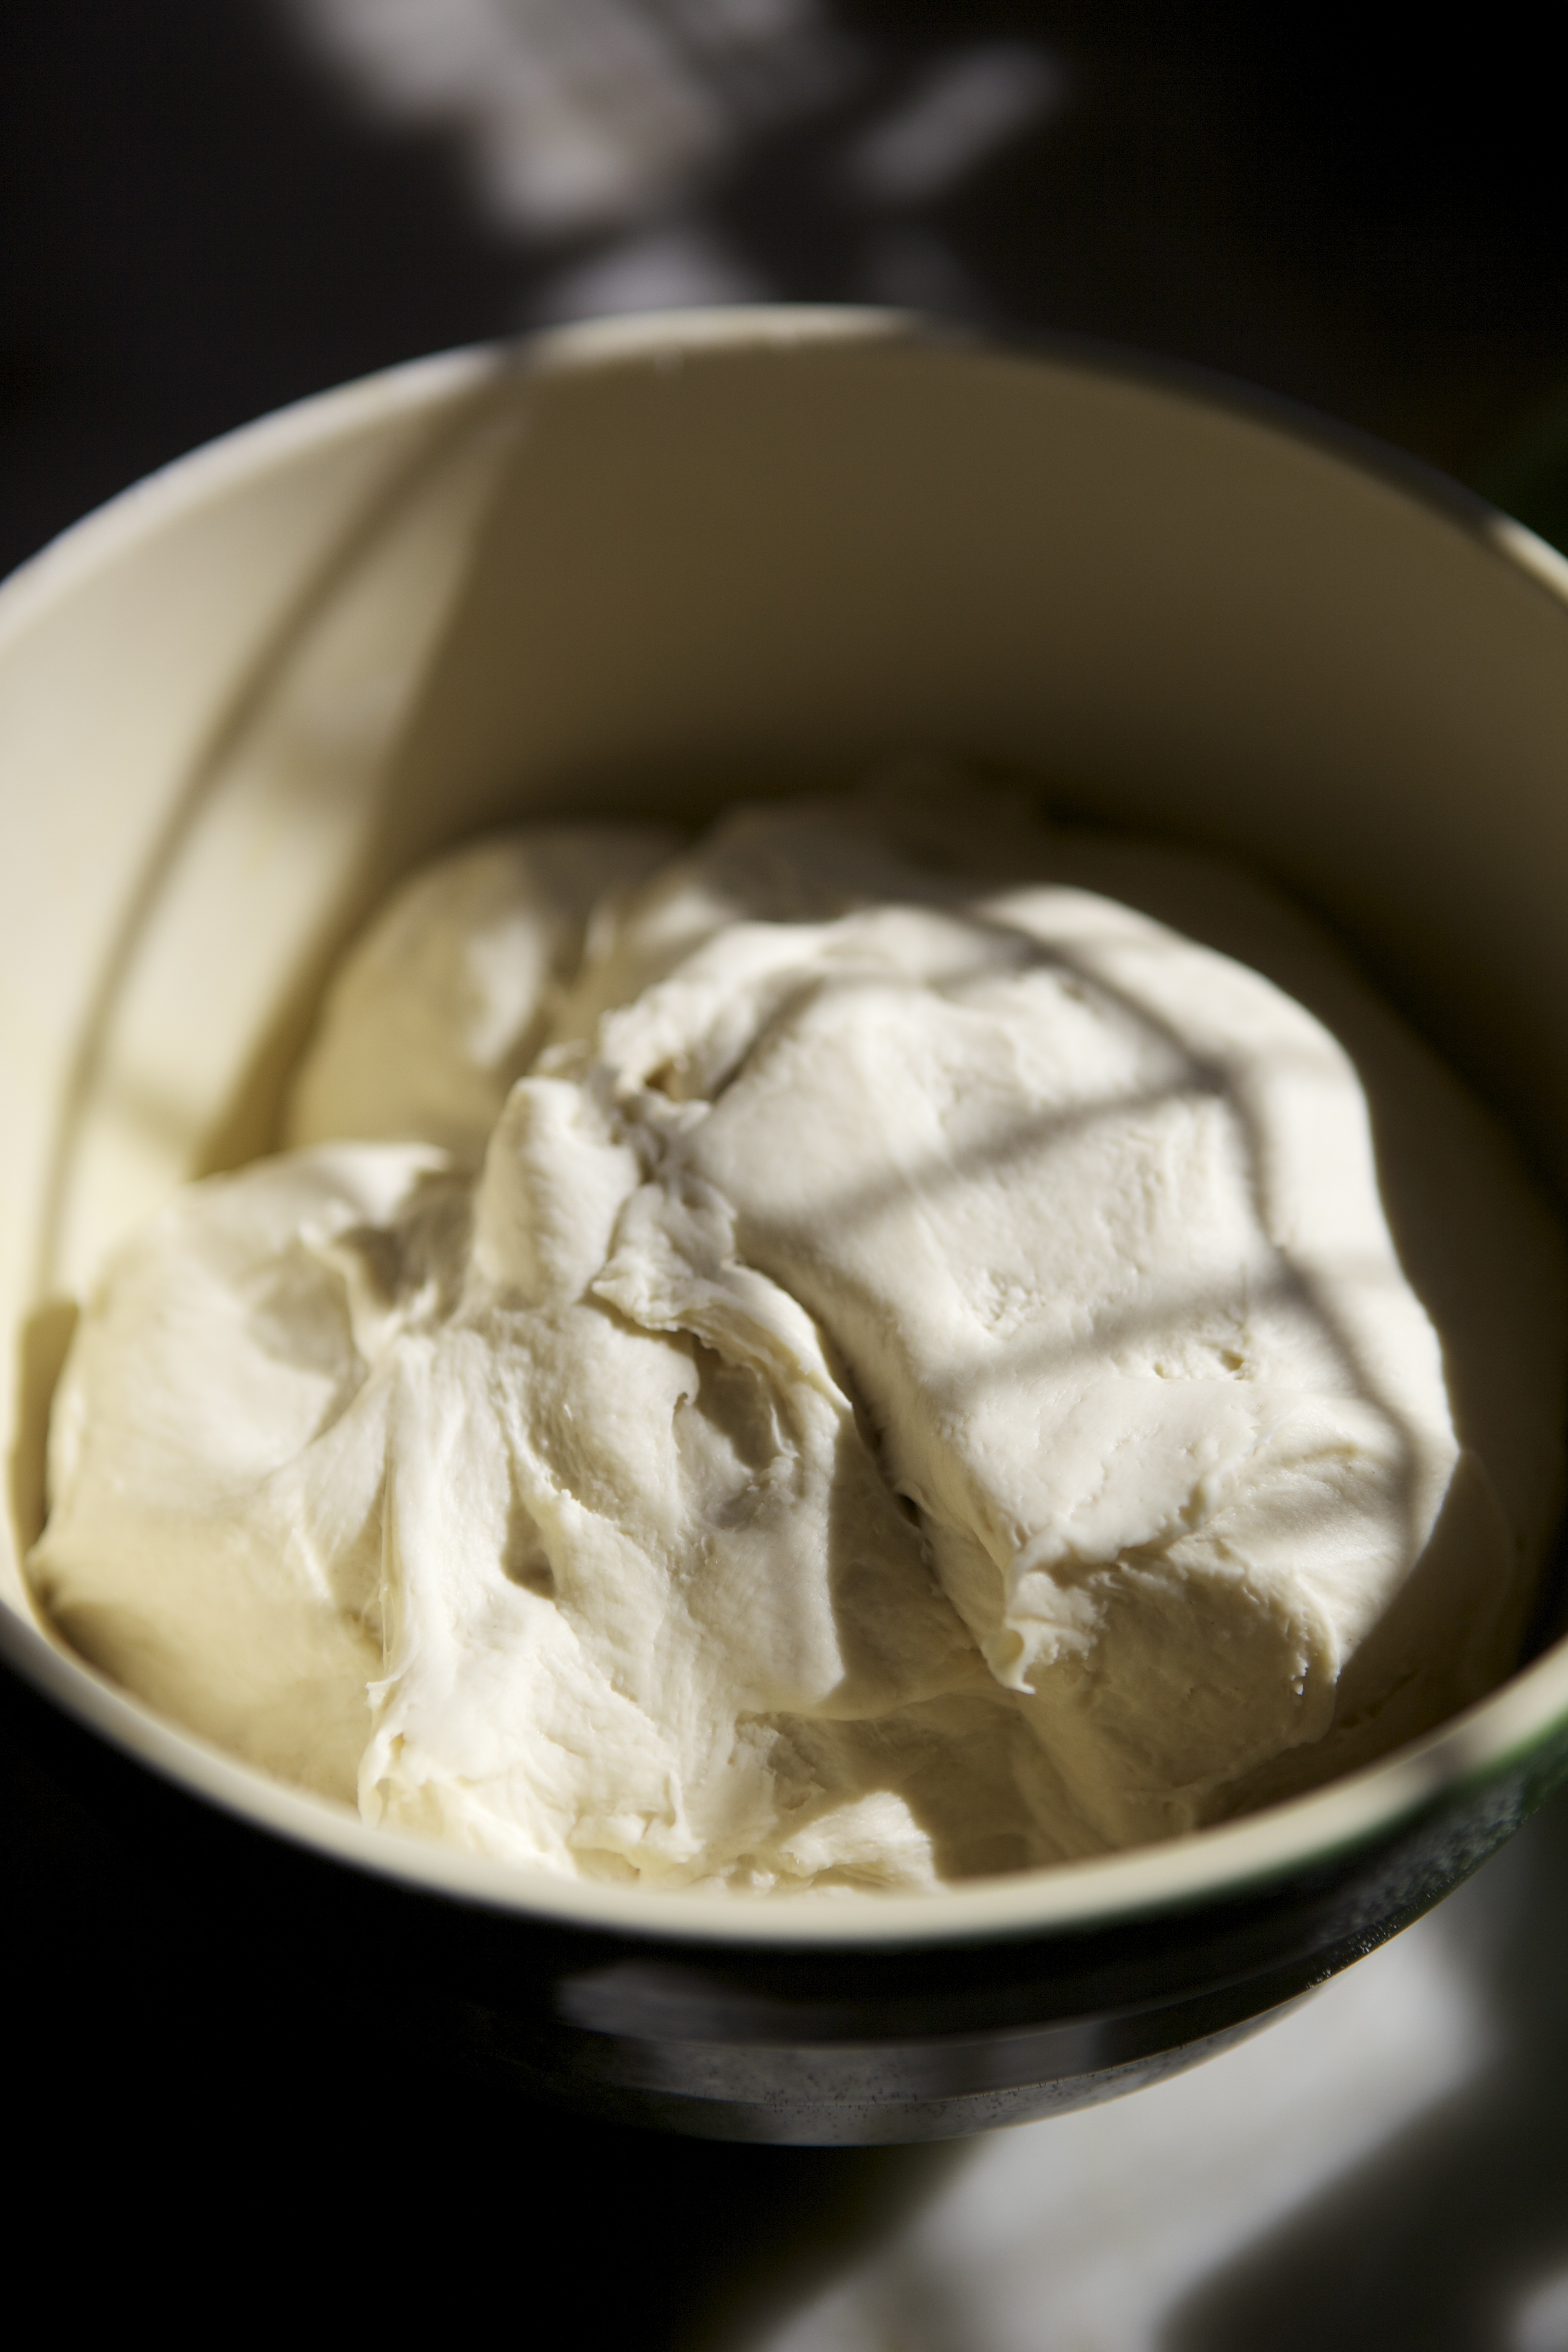
- Your dough should have doubled in size and should be a jiggly, amorphous blob full of bubbles. It may have a crusty top, this is normal. This process can take anywhere from 8 to 12 hours depending on temperature, humidity, and karma. Do not jump the gun on this or you will end up with a dense loaf of bread suited more to the work of a doorstop than to eating.
- Lightly flour your work surface.
- Remove the dough from the bowl and dump it on the work surface. NOTE: I thought it would be funny to drop it from about 2 feet up to give my daughter a laugh. Do not do this as it causes flour to go all over the place.
 Knead the dough for about two minutes until it is back to its original size.
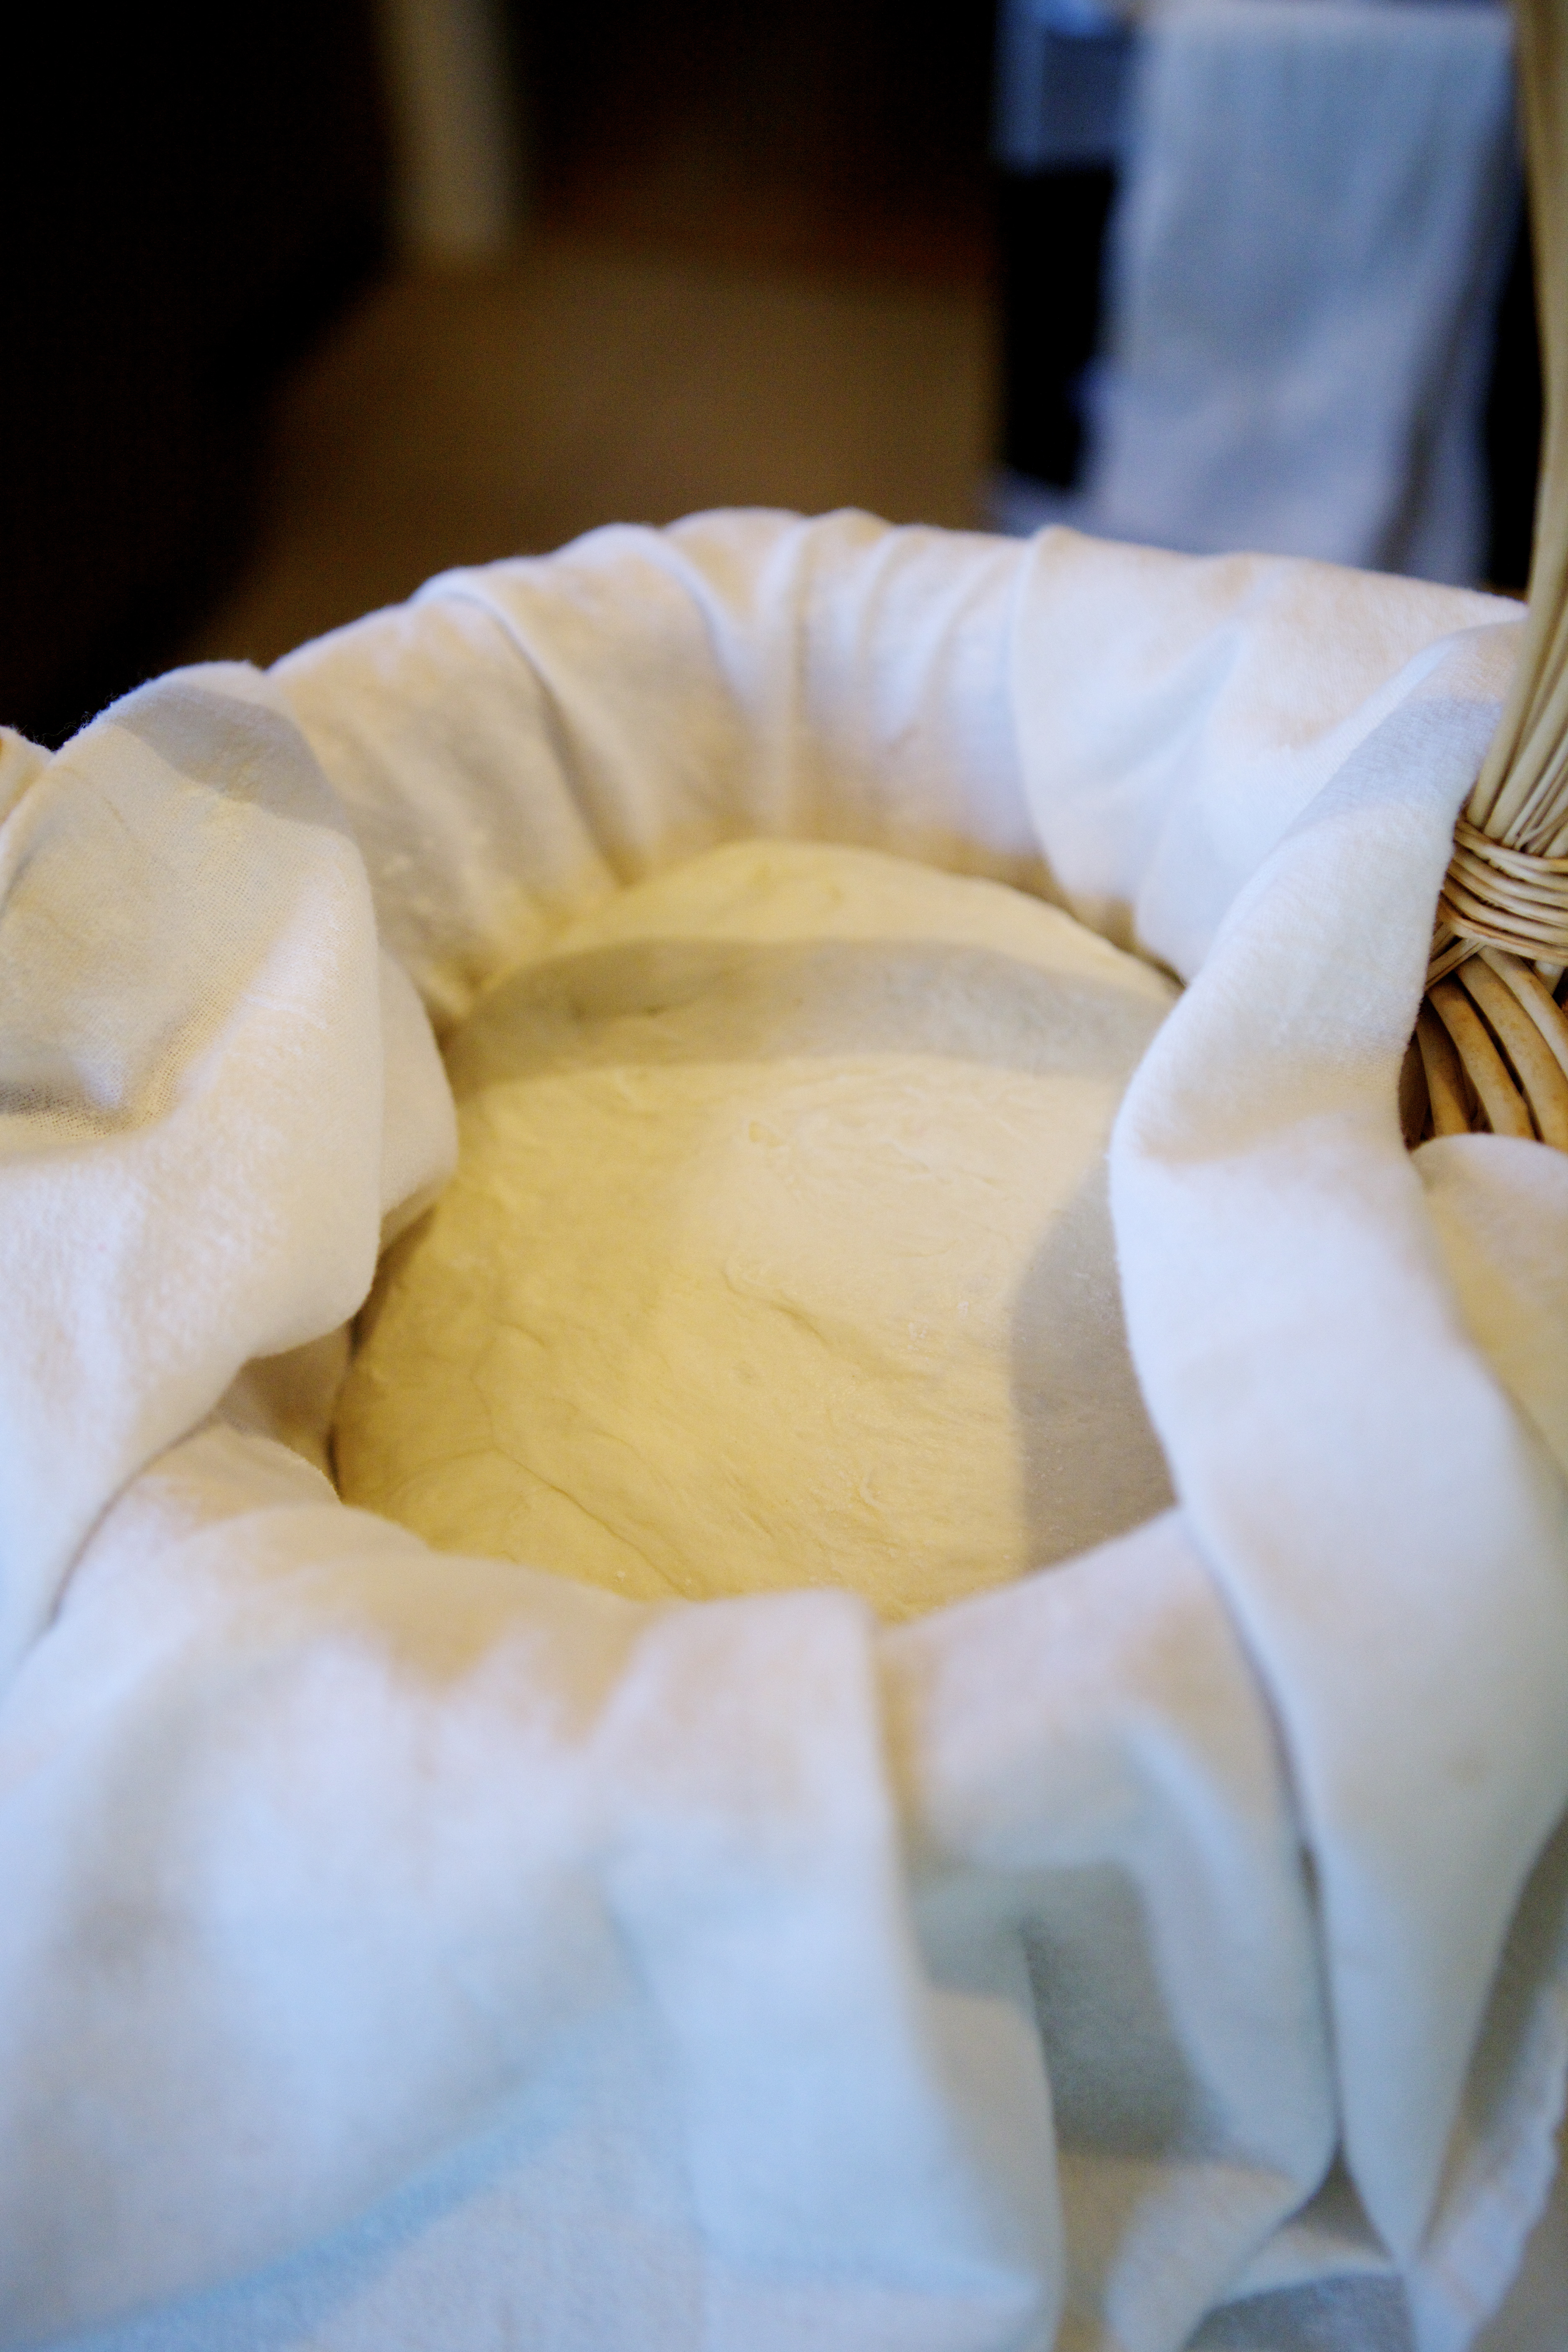
- Line the basket with your towel and sprinkle it liberally with flour.
- Gently lower your dough ball into the basket and cover it with the towel.
- Go away for about 4 hours.
- When you return you should have a relatively firm ball of dough. Do not remove it from the basket yet.
- Position a rack in the lower third of the oven and preheat the oven to 450º.
- Cover the half sheet pan with a piece of parchment paper. DO NOT USE WAX PAPER.
- Carefully remove the ball of dough and gently flip it onto the parchment so that the floured side is facing up.
 Cut an X in the top about a half inch to an inch deep and as far across as you can make it go
- Lightly mist the top of the loaf with water.
- If and only if your oven is at 450º, you may put the loaf in the oven and set your timing device to 30 minutes.
NOTE: If you are using a pizza stone to enhance your baking, you should let the oven sit at 450º for at least a half an hour in order to get the stone up to temperature - After 30 minutes, turn the oven down to 400º and set your timer for 25 minutes.
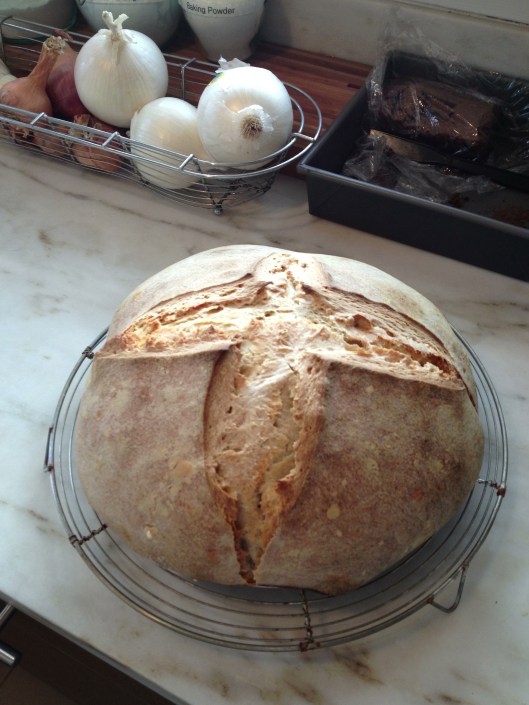
- Remove the loaf from the oven and carefully transfer it to the cooling rack. And by carefully I am saying that I shouldn’t have to remind you that something that has been in a hot oven for an hour is going to be hot so be careful handling it but I am saying it now in case you need to be reminded of such things.

At this point you are done. I strongly recommend cutting off a slab of bread while it is still very warm (you should wait until it cools down to 90º because even though it’s out of the oven, it’s still doing stuff in there) and eating it with either an offensive amount of butter, a gooey soft cheese (Saint André is a great candidate, or Mount Tam from Cowgirl Creamery), dipped it in olive oil with some coarse sea salt mixed in, or if you’re truly ambitious you could roast some garlic. In terms of storing the bread, I wrap it in a clean dish towel and that seems to keep it from getting stale too quickly.
You may now walk like an Egyptian.

Pingback: Getting started with a Sourdough Starter « Practically Eating
Pingback: Smoked Steelhead Caesar Salad | Practically Eating
Pingback: Whole Wheat Bread (with honey!) | Practically Eating
Pingback: Mock Cuban Sandwich | Practically Eating
Pingback: In the Beginning … Beer. | Practically Eating
Pingback: Sourdough Beer Bread | Practically Eating