
A few years ago I was introduced to Jason by a friend. Jason had just opened a store called Artisan Confections and he needed some product photos shot. I was raising money for the Leukemia Lymphoma Society and suggested that he make a donation in exchange for the photos. At the end of the shoot there was some product that needed to be disposed of which went home with me. All of his creations were awesome but the sea salt caramels he made were in a league of their own. I ate them so fast that for the first time since I was a little kid I actually made myself sick.
When I moved to California I decided to try my hand at making them myself. After some trial and error (mostly trial, actually which was a pleasant surprise) I modified a caramel recipe I found to fit my tastes and this is the result. Most of the error came in tempering the chocolate, which is a challenge. There is a secret, an expensive secret, which I will tell you at the end of the recipe (yes, you can scroll down and cheat if you are a kill joy) but you should definitely try it the hard way at least once so you have a proper appreciation for the miracle of technology.
Equipment:
- 8×8 NON STICK cake pan (and it really must be non stick)
- Medium saucepan (about 4″ deep, 6″ wide)
- Small saucepan
- Whisk
- Measuring spoons and cups
- Double boiler (this can be two pots and actually you can use the same saucepan as you start with above since you will be doing the caramel and chocolate parts on several hours apart)
- Super accurate thermometer (You need at least a very good candy/deep frying thermometer and a very good meat thermometer but for $19 a digital infrared thermometer that you don’t have to get dirty and that can read a wide range of temperatures is worth it)
- Parchment paper
- Fork (you can get special dipping forks and stuff that actually do make this easier but unless you are planning to make chocolates regularly you should be able to live without them)
- Clean hairdryer
Ingredients:
- 1.5 cups sugar
- 1/4 cup water
- 1/3 cup good honey (not the crap that comes in the plastic bear with the yellow top)
- 1 cup heavy whipping cream
- 6 tablespoons butter cut into 1 tablespoon chunks
- 1 teaspoon flake sea salt plus extra for sprinkling (kosher salt, iodized salt, coarse sea salt, and fine sea salt are not appropriate for this application)
- 2 vanilla beans
- 2 teaspoons good bourbon
- 2 lb dark chocolate (60% or more cocoa solids. I use a 71% Callebaut and I buy it in the “callettes” or chocolate chips which is a lot easier than chopping up a block)
Time: About 30 minutes for the caramel which then has to cool for several hours (I recommend overnight) and then another half hour to temper the chocolate and an additional half hour for dipping the chocolates plus another hour or so for the chocolates to cool. The fastest you cold probably pull off the whole thing end to end is 4 hours but, again, the best bet is to do the caramels one afternoon, and then do the chocolate part the next afternoon.
Process:
- Caramel
- Cut a piece of parchment paper so that if covers the bottom of the baking pan but leave the ends so that they hang over two sides of the baking dish. (TIP: after creasing the paper, it’s handy to have a couple of clothespins ready to clip the paper to the sides of the baking pan so that the paper doesn’t flop back in the pan when the caramel is in there)
- Take one of the chunks of butter and grease the parchment and the sides of the pan
- Put the cream, 5 chunks of the butter, and the teaspoon of sea salt in the small saucepan and bring to a simmer over medium low heat. Turn the heat to the lowest setting.
- Combine the sugar, water, and honey in the medium saucepan and bring them to a boil over medium high heat. Don’t stir the mixture but swirl it around occasionally so it doesn’t burn. Keep doing this until it reaches a warm golden brown color.
- Turn off both burners and slowly whisk the cream into the sugar mixture. It is going to bubble and be very dramatic while you do this so don’t flip out and dump the whole thing of cream in there because that will cause boiling sugar to go everywhere and you will not enjoy the result.
- Once everything is mixed completely, put the saucepan back on a burner over medium low heat and stir.
- Cut the vanilla beans in half and scrape out the black tar center and put it in the caramel mixture.
- Add the bourbon and stir until everything is mixed in.
- Continue heating for about 10 minutes until the temperature reaches 248º Fahrenheit (120º centigrade)
- Carefully (and no kidding around here, this is seriously hot stuff that will take your skin off faster than you can scream the accompanying expletive) pour the caramel into the baking pan. You should also put a trivet (hot pad) under the pan if you have nice counters.
- Allow the caramel to cool to close to room temperature and then put it in the fridge to set it firmly. I recommend grabbing the bottle of bourbon, sipping it while you cook a nice meal, then going to sleep at a reasonable hour then waking late to tackle the tempering of the chocolate with a clear head and fresh batch of patience.
- After you remove the caramel from the fridge and dislodge it from the baking pan, remove it to a larger sheet of parchment (or a silpat or similar thing), and then use a large knife (at least 10″ long) to cut the caramel into the number of pieces you want to have. I do a 6×6 cut (about 1.33″ square per piece from the initial 8×8″ block) usually but I have also done 1″ squares and .75″ squares. I recommend the big ones because it’s less work in the next phase and they look decadently enormous when you give them to people.
- Chocolate
- If you are stubborn and you have bought block chocolate, you must now spend a bunch of time chopping it up with a chef’s knife. The smaller the pieces you break it into, the faster it will melt. You should also pay attention to trying to make the pieces uniform so that you don’t end up waiting for that one big piece you were too lazy to cut into a smaller piece to melt.
- Separate the chocolate into two piles, one big and one small. The big pile should contain about 80% of the chocolate leaving 20% in the small pile. If you are smart you will use a scale for this which will mean that the big pile will have about 25.5 oz in it and the small pile will have 6.5 oz in it.
- Fill the bottom pot in your double boiler to a point where the water will almost but not quite touch the bottom of the top part of your double boiler.
- Bring the water to a rolling boil (lots of bubbles going really fast) and then turn down to the lowest flame (you are cooking with gas, right?) to keep warm.
- Making sure that the top bowl is dry (moisture in the bowl can cause the chocolate to seize and become grainy which will mean throwing out the chocolate and starting over), put the larger pile of chocolate in the top of the double boiler assembly and melt. Stir the chocolate occasionally as it melts.
- NOTE: The temperatures I am going to give in the next few steps will be in a range. This is because every chocolate has its own preferred temperatures. Callebaut prints the appropriate temperatures on their labels and if your chocolate does not come with that information you should check the manufacturer’s specifications for the correct information for your product. Or you can just wing it and see what happens. It’s chocolate after all, not brain surgery. Nobody is going to die if you screw it up.
- Once the melted chocolate registers between about 115 and 120ºF, set the bowl aside for 10-15 minutes. Do not turn off the heat under the double boiler but add enough water to bring it back to its original level. Now is a good time to drink a glass of bourbon on the rocks or nice, strong red wine since you have undoubtedly been sneaking little nibbles of chocolate and are pretty thirsty.
- Add one ounce of the remaining unmelted chocolate and stir until incorporated into the melted chocolate. Check the temperature. Repeat this until the temperature reads 86ºF. Once you reach 86ºF, stop adding chocolate. If you have a thermometer with a clip that allows you to attach it to the side of the bowl you can leave it in the bowl while you are stirring. If you have leftover chocolate (you probably will) from the seeding pile, feel free to eat it.
- Return the top of the double boiler to the bottom of the double boiler and reheat until the temperature reaches 89ºF.
- Take a spoon and drizzle some of the chocolate on a piece of parchment. Now run your finger through it. If the chocolate appears smooth and holds its shape, congratulations! You have tempered chocolate. If it appears grainy and uneven, you are hosed and must start over with new chocolate.
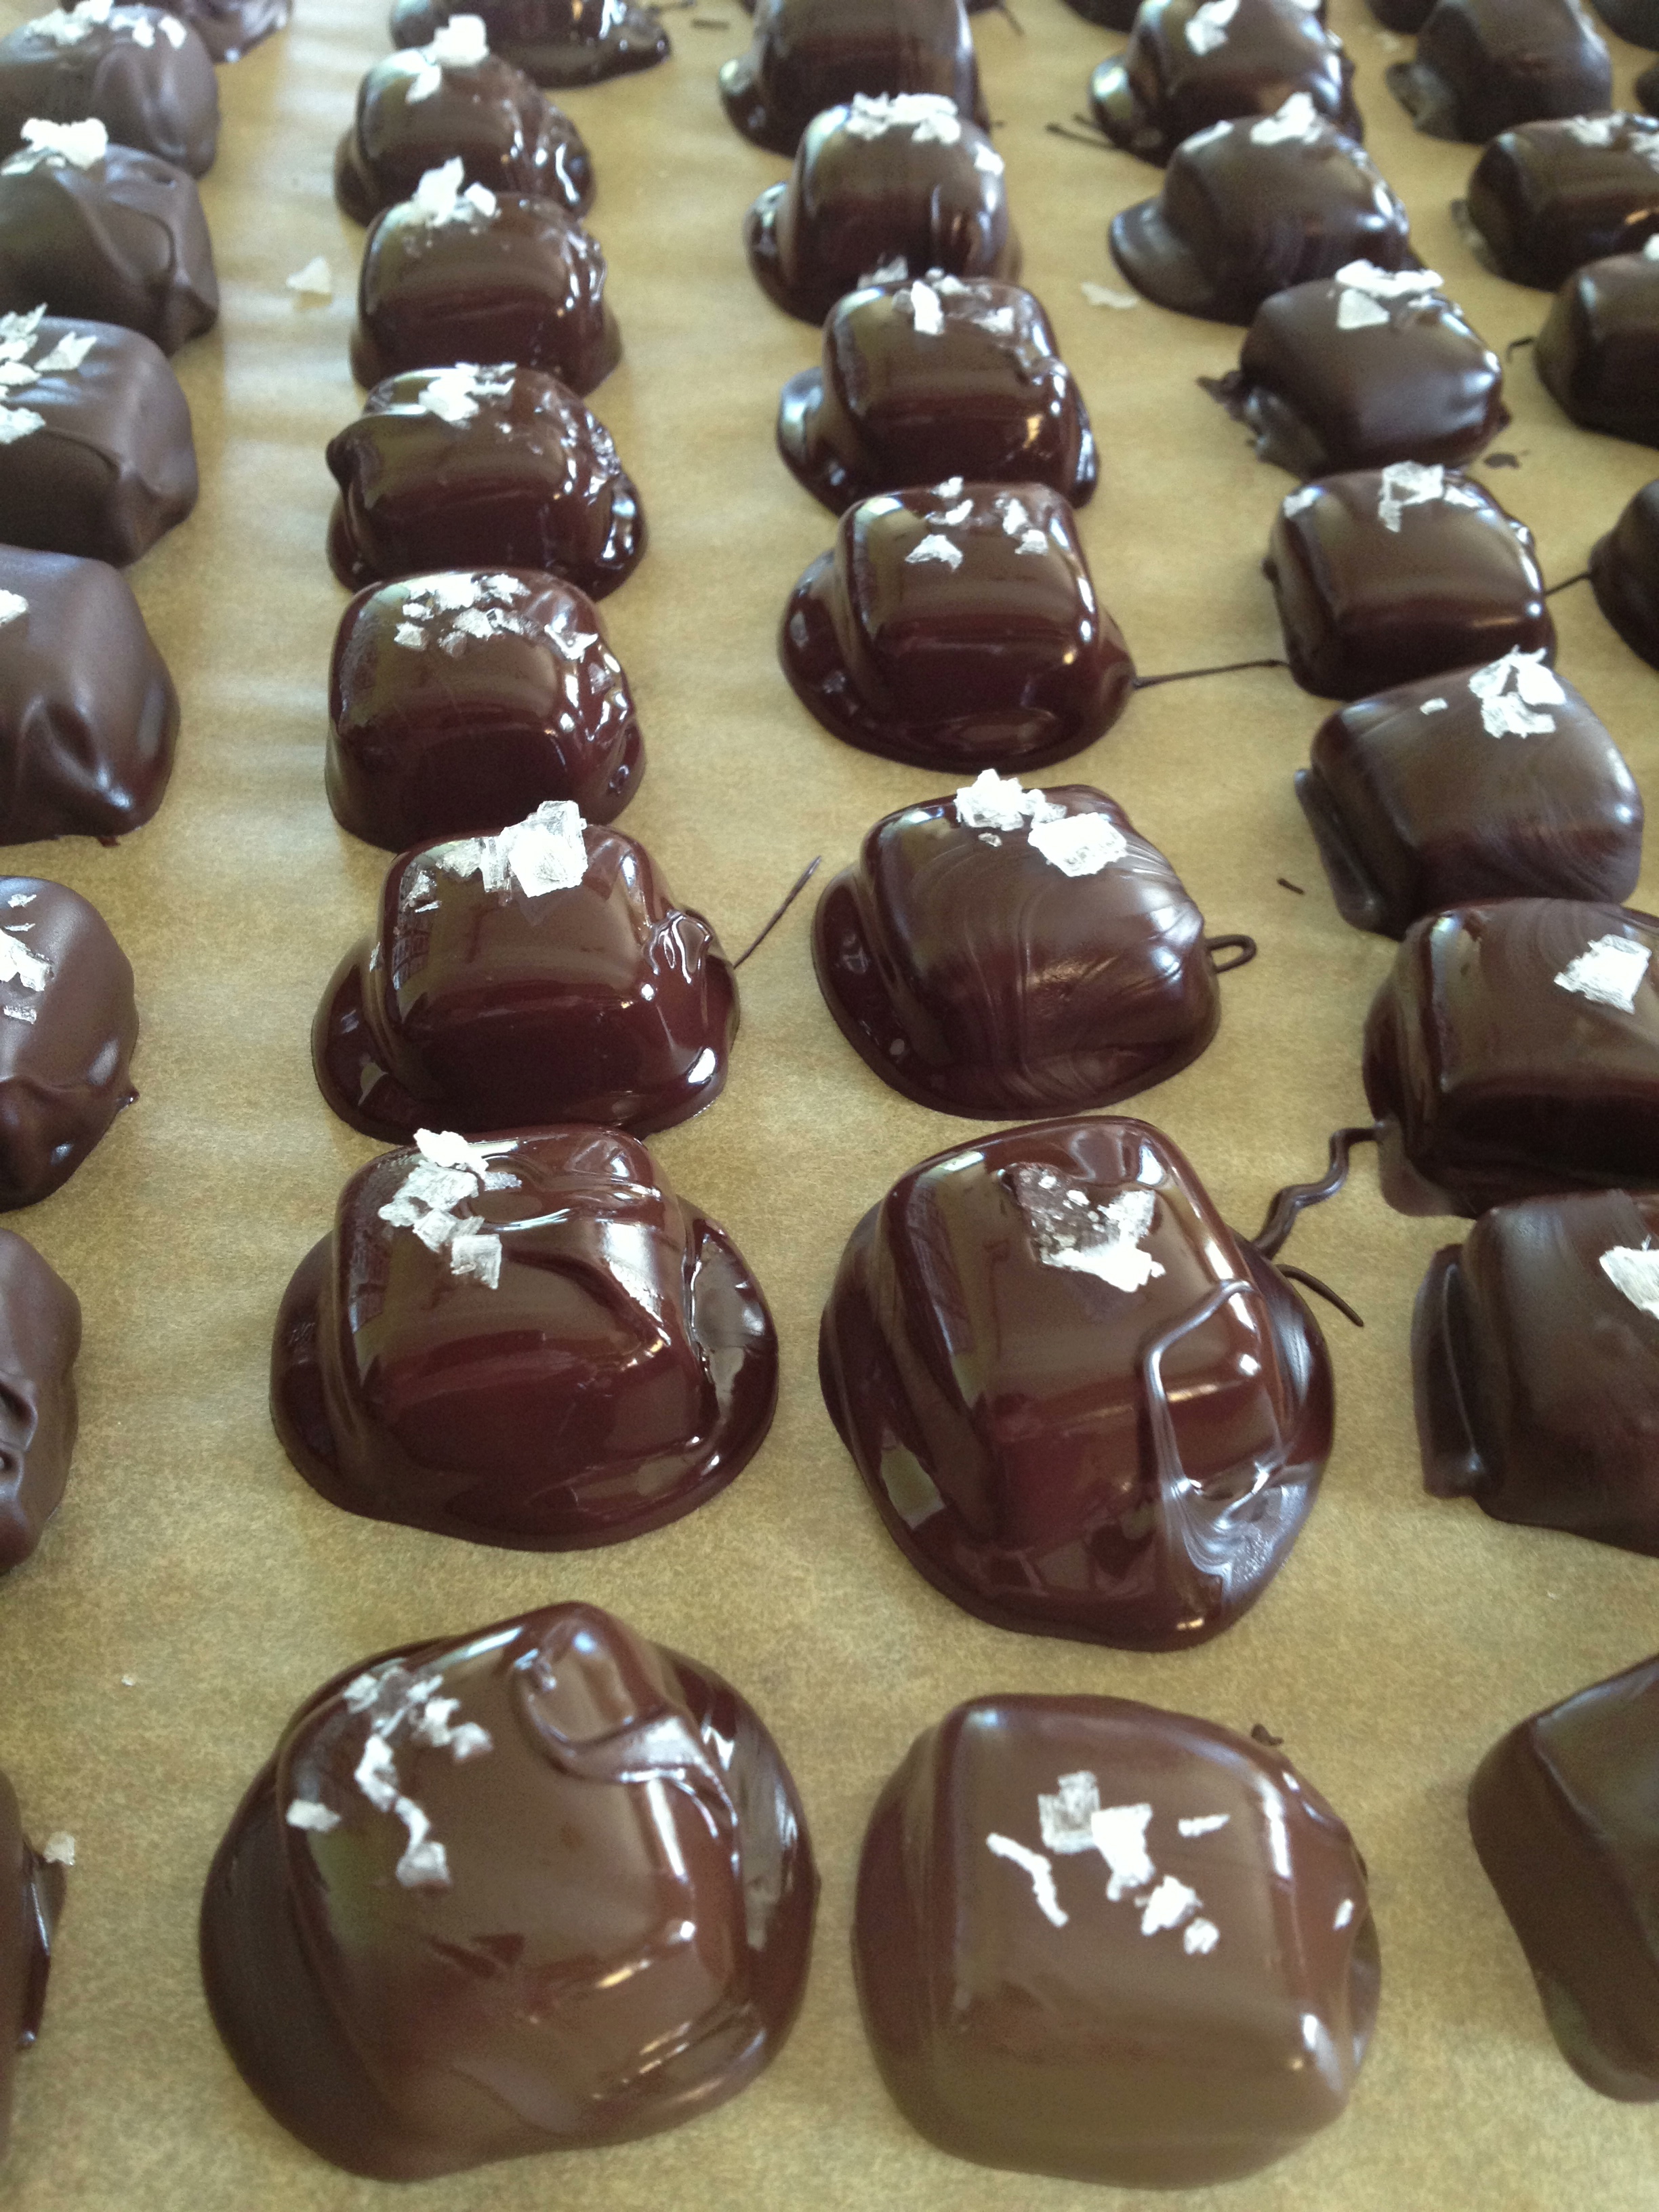
- Assuming you have achieved success, you may now use the fork to dip the caramels in the chocolate, ensuring complete coating, and then set aside on a piece of parchment and sprinkle with a pinch of the flake sea salt immediately. Repeat with all of the pieces of caramel. If the chocolate in the bowl begins to set, use the hairdryer on medium heat to warm the bowl, being careful not to take the temperature above 90ºF as this will break the temper, causing the chocolate to separate and you will be hosed.
- Once you are done you will probably have some tempered chocolate left over and some time to kill while the caramels set. I like to keep some kind of fruit handy (peeled and sectioned tangerines, strawberries, cherries, etc.) which I can then dip in the remaining tempered chocolate for a tasty snack. Or you can just eat the tempered chocolate with a spoon. Or with your fingers for that matter.
- The caramels can be stored in an airtight container out of direct sunlight (they will melt) and NOT IN THE REFRIGERATOR. If you store chocolates in the refrigerator they will attract condensation when you take them out of the refrigerator and you will end up with at best spots on your chocolate and at worst, salt that has melted in the moisture. You should store about 25% of the total volume someplace secret so that you have a stash of these for yourself and then you can feel better about offering the remaining 75% to friends and family.
THE BIG SECRET: Once you have tried your hand at tempering chocolate and have decided that this is something you would like to explore further, you may want to invest in a tempering machine. Yes, they exist and they make the whole process of tempering chocolate ridiculously simple. In fact once you’ve tried it without the machine you will be offended at how easy the machine makes it. That being said, this is a serious investment as the cheapest one I could find for home use (and it works very well) runs around $370 new ($350 refurbished). That being said, the one you should probably get is the next one up from the bottom which is $580 and offers more precise temperature control. Those are almost never available in the refurbished store. The reason more of the cheap ones are available is that they are returned for the slightly more expensive ones.
